Download the app for iOS smart phone or tablet and register your account in the app.
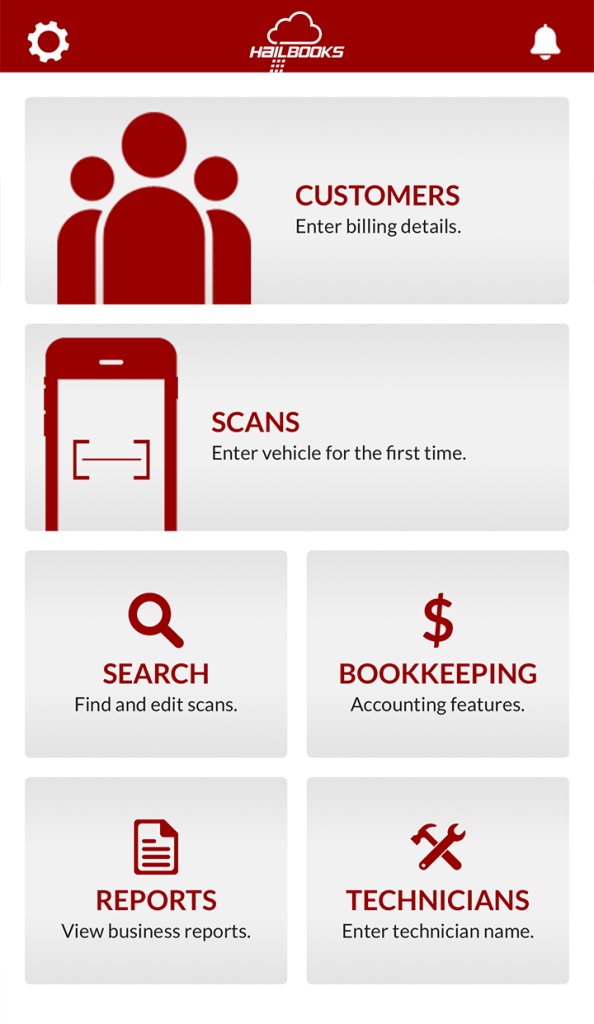
Hailbooks Home Screen
On the Hailbooks app home screen you will see:
- Customers
- Scans
- Search
- Bookkeeping
- Reports
To set up your account on your smart phone, you need to go to the “Settings” screen. To get to “Settings” from the “Home” screen, tap the “Gear” (![]() ) in the upper left hand corner.
) in the upper left hand corner.
Setting Up Your Account On Your Smart Phone
Under “Settings” you will see:
- Registration
- Login
- Technicians
- Send Feedback
- About
- Legal
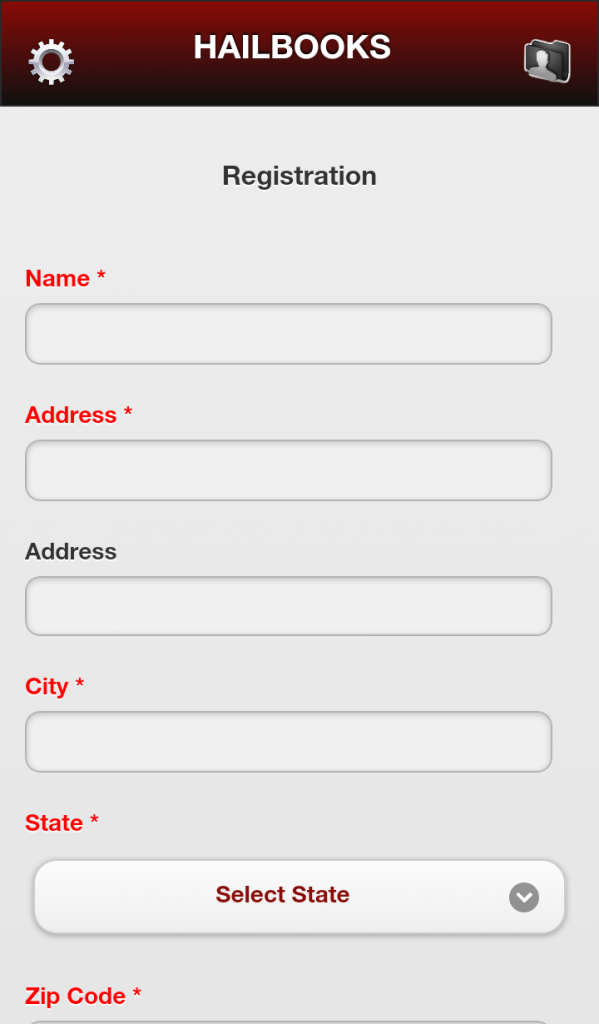
Tap “Registration” to start registering your account. Enter your personal information to register with Hailbooks. Tap the “Go To Payment Screen” to complete your payment information*. Tap the “Gear” button (![]() ) to go back to the “Settings” screen.
) to go back to the “Settings” screen.
*Currently, Hailbooks is offering your first 90 days for free; however, we still require payment verification at this step.
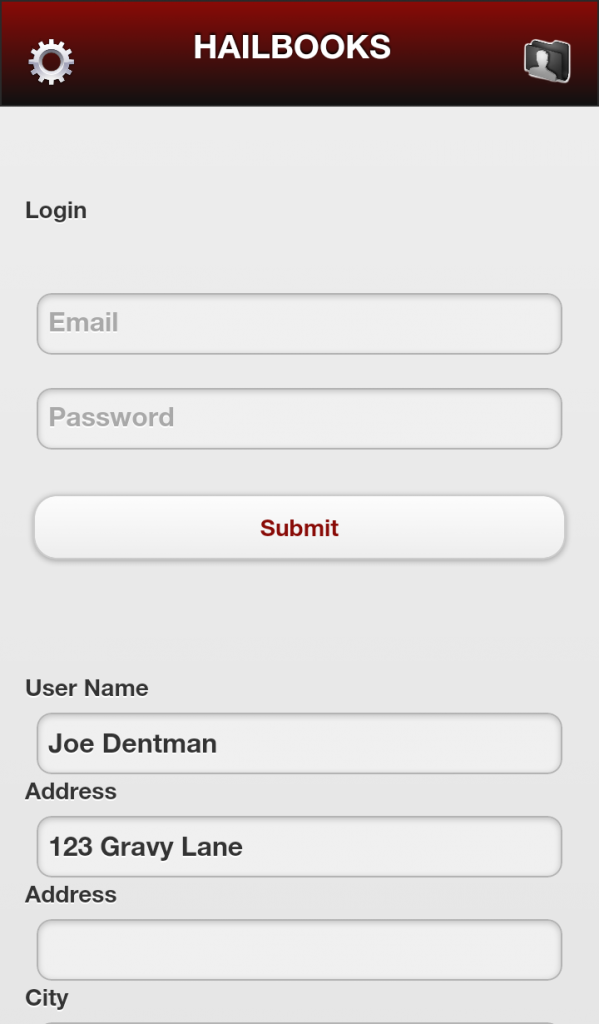
Tap “Login” to enter your login information. Your login information is the email and password you entered when you registered your account. Tap “Submit”. You’re now logged into Hailbooks. Tap the “Gear” button (![]() ) to go back to the “Settings” screen. Then tap the “Home” icon to go back to the Home screen.
) to go back to the “Settings” screen. Then tap the “Home” icon to go back to the Home screen.
Customers
The Customer Information feature saves all of the dealers you work with for easy billing. When you add a dealer, you will list the company name, address, contact name, phone number, fax number and email. Once you finish a job for that dealer, you can email your invoice(s) straight from your phone or desktop computer.
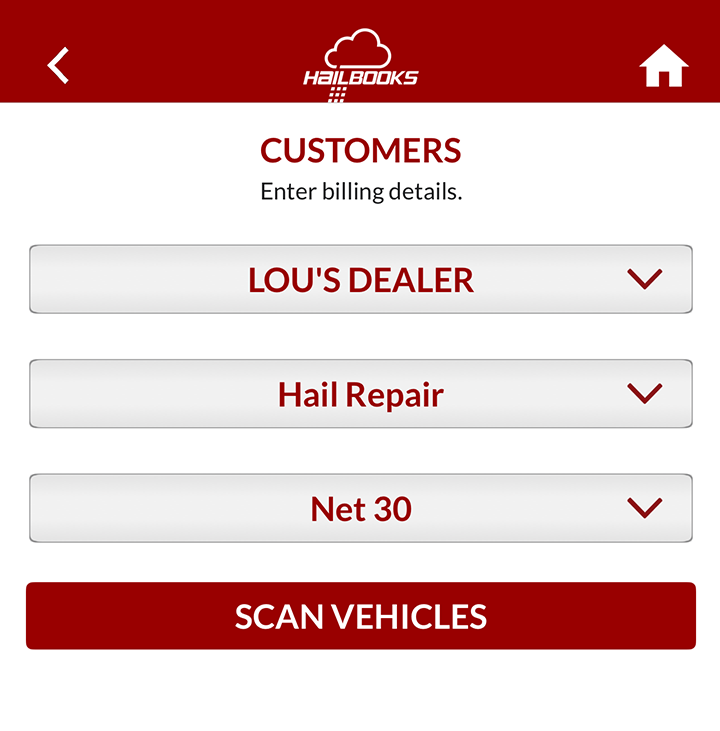
The “Service” section allows you to list what service you are performing (glass repair, paint, hail, etc). The “Term” section allows you to dictate how you want to be paid. You can always add new dealers, new types of service and new payment options to your list.
Before you begin work on a vehicle, select the dealer you are working with, the service you are performing and how you want to get paid. Every vehicle you work on will automatically go under this dealer’s name, until you change the customer information. To make sure you have the right dealer information entered for a job, tap the folder (![]() ) icon in the top right corner.
) icon in the top right corner.
Scans
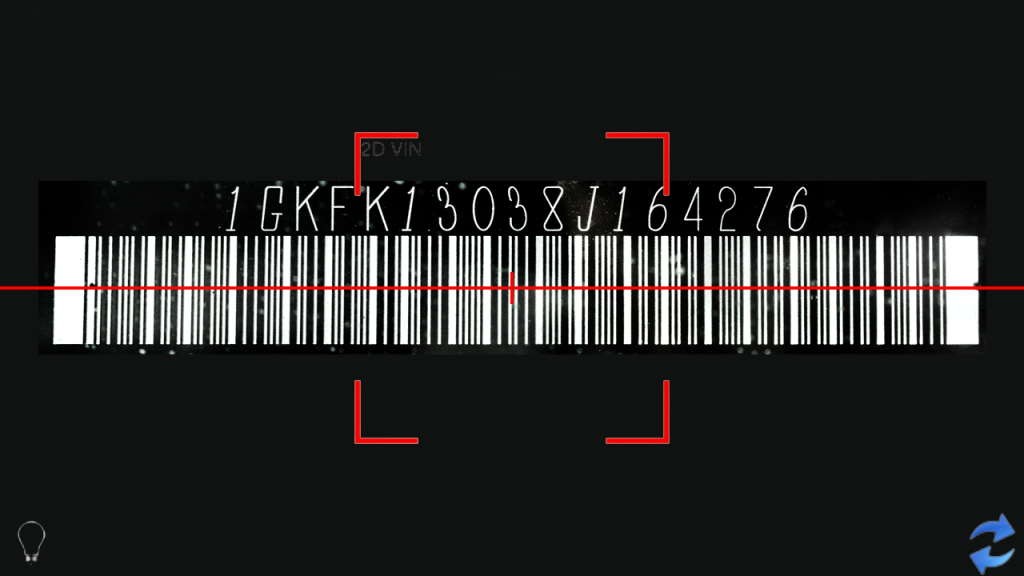
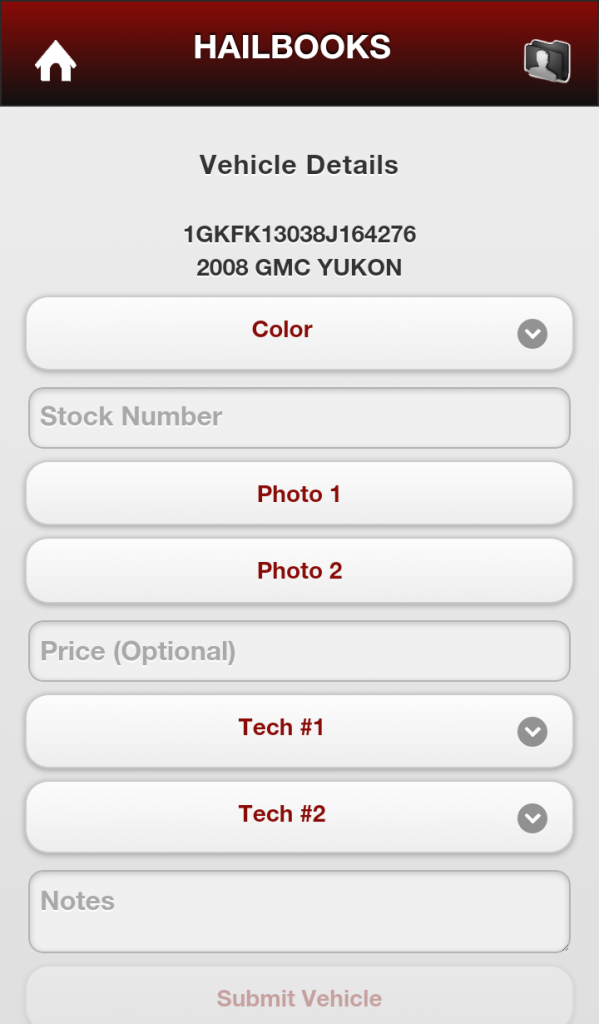
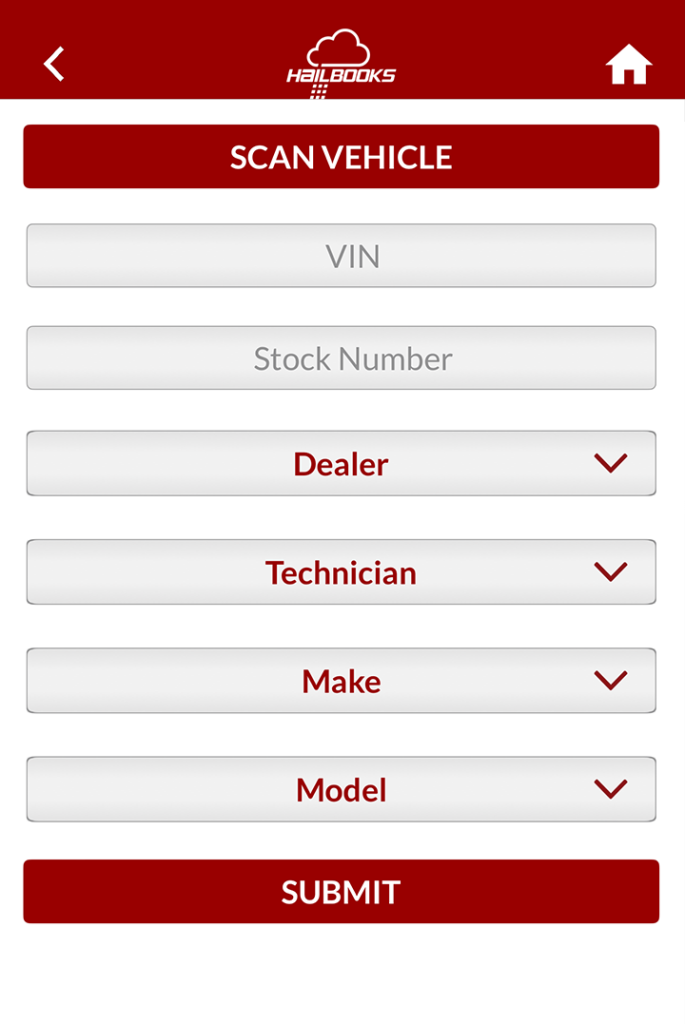
Scan the VIN or enter it manually. Hailbooks searches one of the largest production vehicle databases in North America to instantly return the year, make and model of the vehicle you are repairing.
Enter color (optional) and stock number.
Take photos to document your work.
Enter your fee and any notes relating to that vehicle.
You can assign up to two technicians for each repair.
Submit vehicle for invoicing.
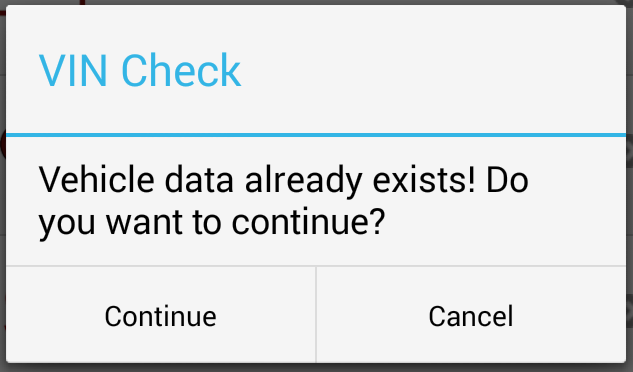
Duplicates
The Duplicates feature prevents you from double billing a dealer for the same vehicle.
Search
You can search for a particular job by scanning or entering the VIN, stock number, dealer, etc. You can also make edits to the job, such as: change your fee price, change or make new notes, take new pictures, etc. After you make your changes, remember to tap “save”.
Bookkeeping
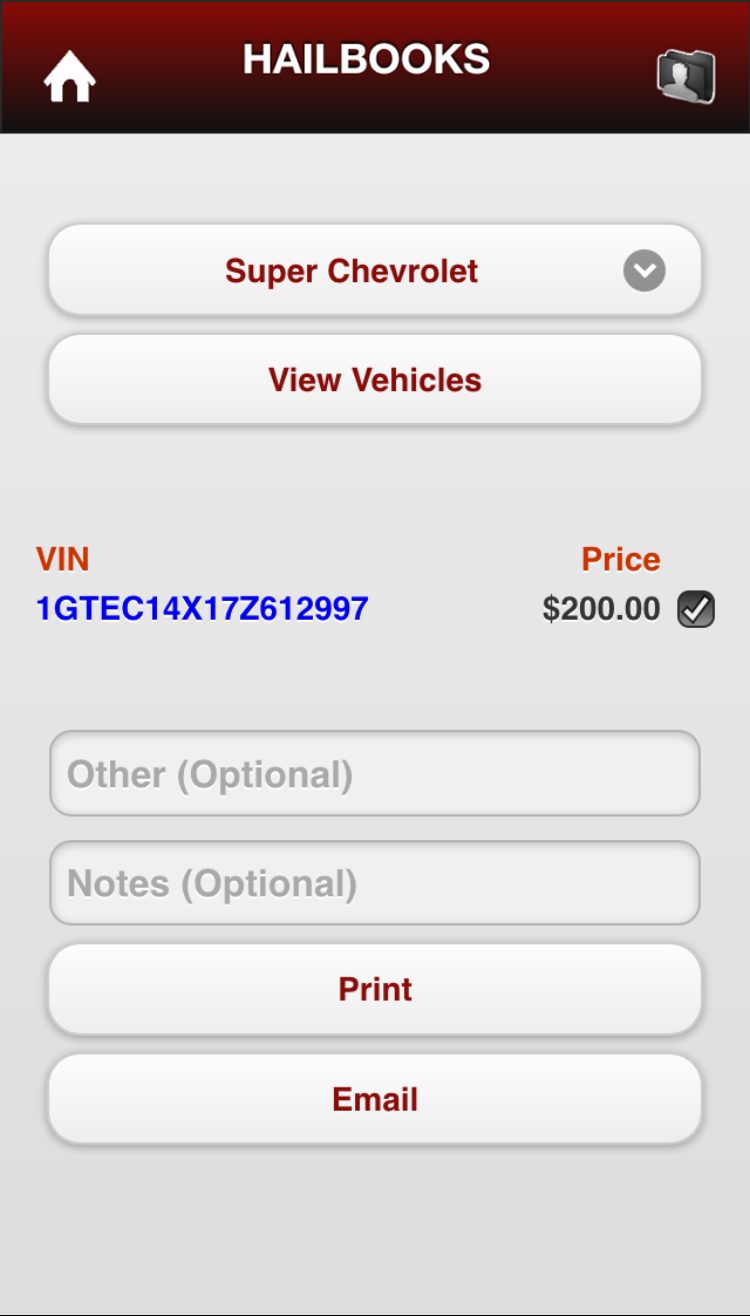
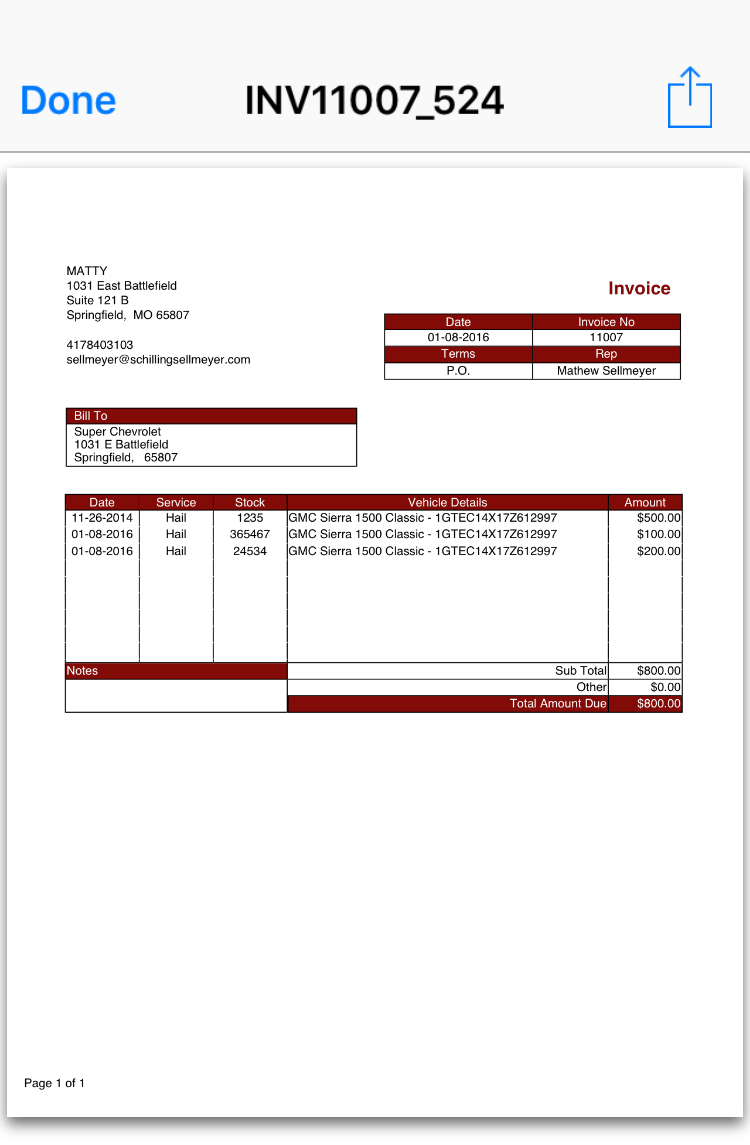
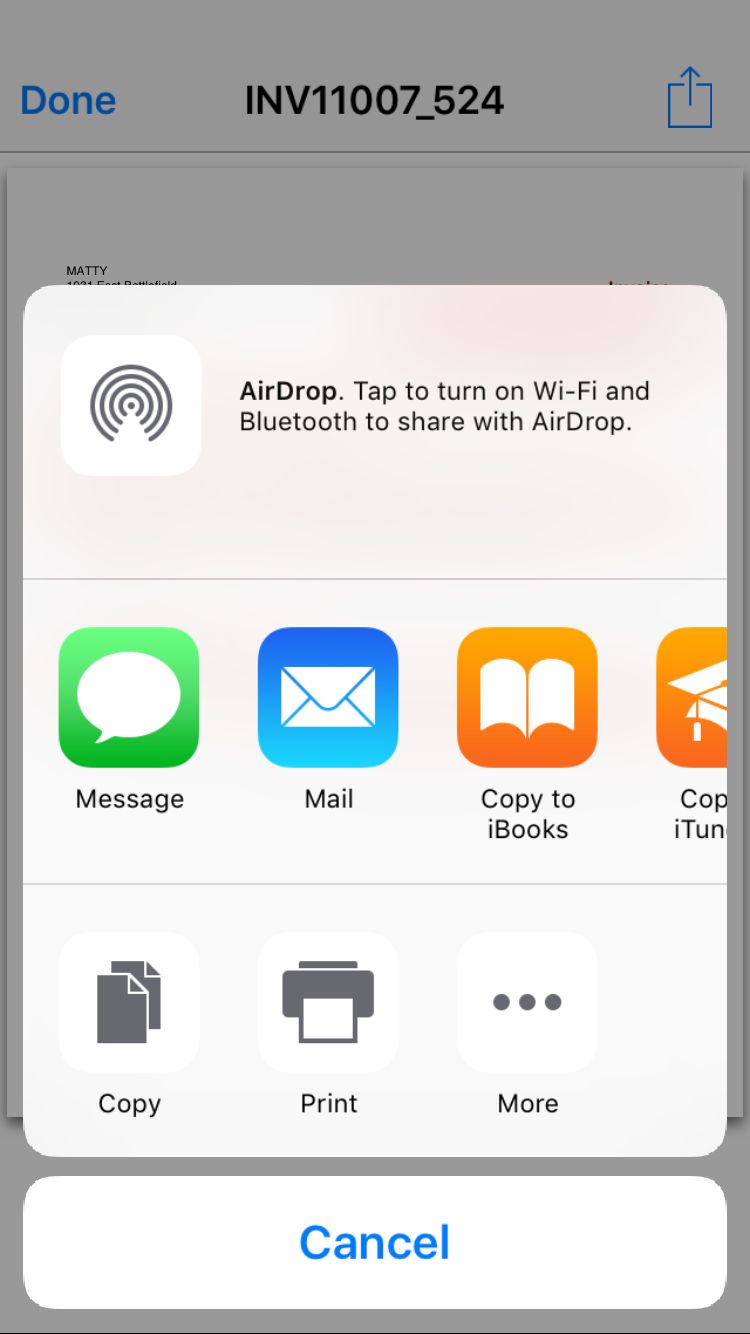
Invoice: Select dealer and tap “View Vehicles”. This pulls up all of your work for that dealer. To send an invoice, check the box listed next to the price. You can preview the invoice to confirm everything is correct. Tap “Email” to send the invoice. Once you send it, a confirmation box will appear saying the invoice was sent successfully.
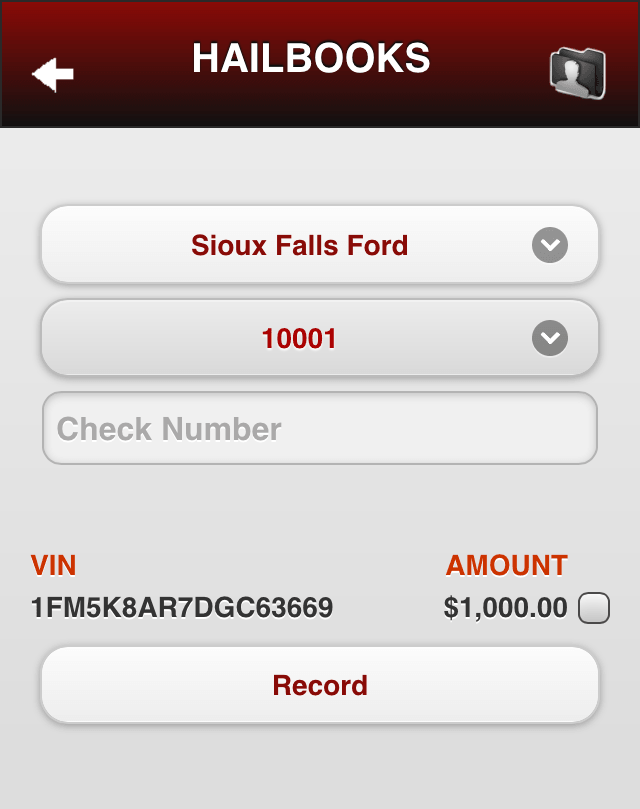
Payments: Select dealer and invoice number to record your payment. Type in the check number, check the box next to the payment amount and tap “Record”.
Reports
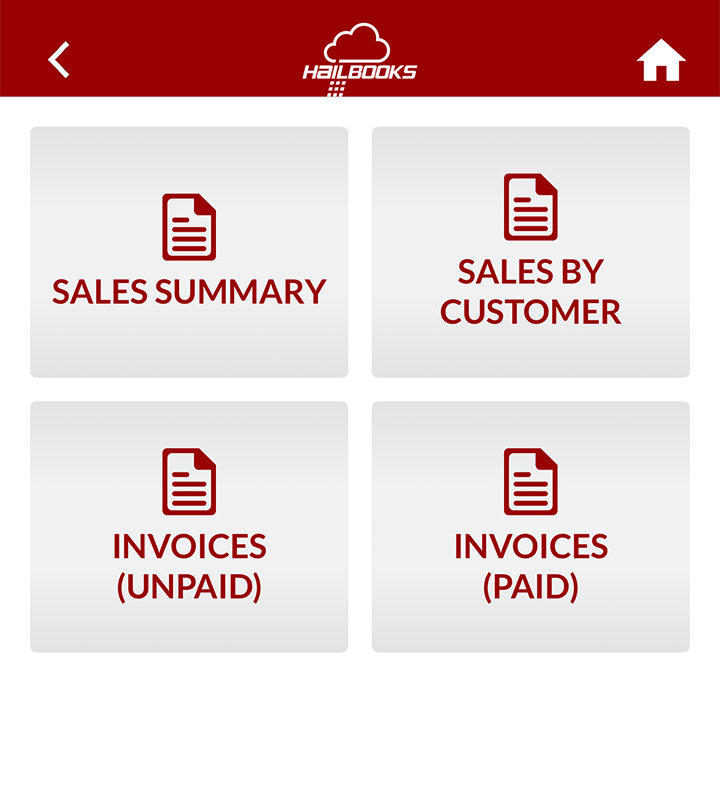
View all of your jobs by total sales summary, sales by customer, paid invoices and unpaid invoices.
Sales Summary: Shows how many vehicles you worked on over a specific period, the average cost you charged per vehicle and your total sales.
Sales by Customer: View your total sales and number of jobs you performed with a specific dealer.
Invoices Unpaid: Select a dealer to see which invoices have not been paid.
Invoices Paid: Select a dealer to see which invoices have been paid and recorded.

